How to create a training application
Audience:
Business UserSkill Prerequisites:
Basic Account Management
How to Create a Training Application in Plant an App
This article provides a step-by-step guide on how to create a training application.
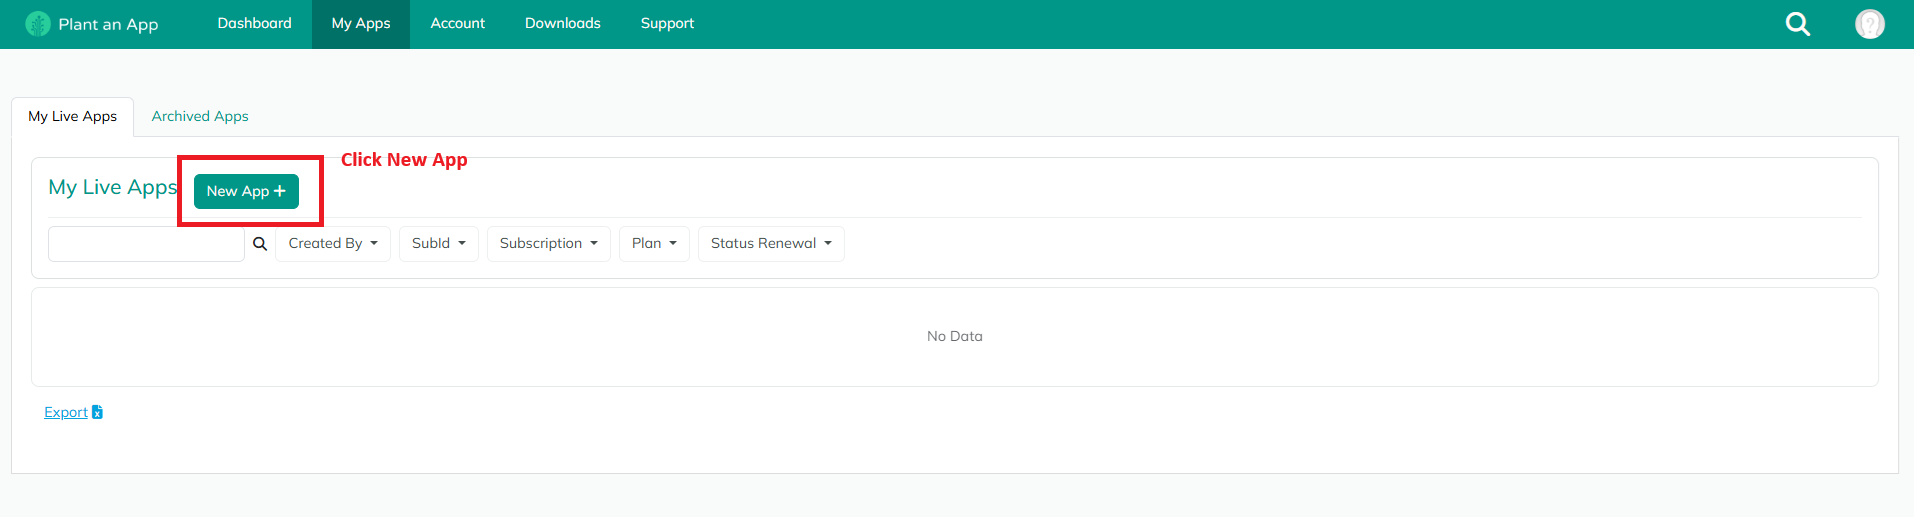
My Apps Page
Make sure you are on the My Apps page and that the My Live Apps tab is selected, then click the New App button.
The next step is to fill in the required fields in the form that appears and select Training Environment from the subscription dropdown. To create a training application, your organization must first be assigned a training subscription. If the training subscription is not visible in your account, please contact us.
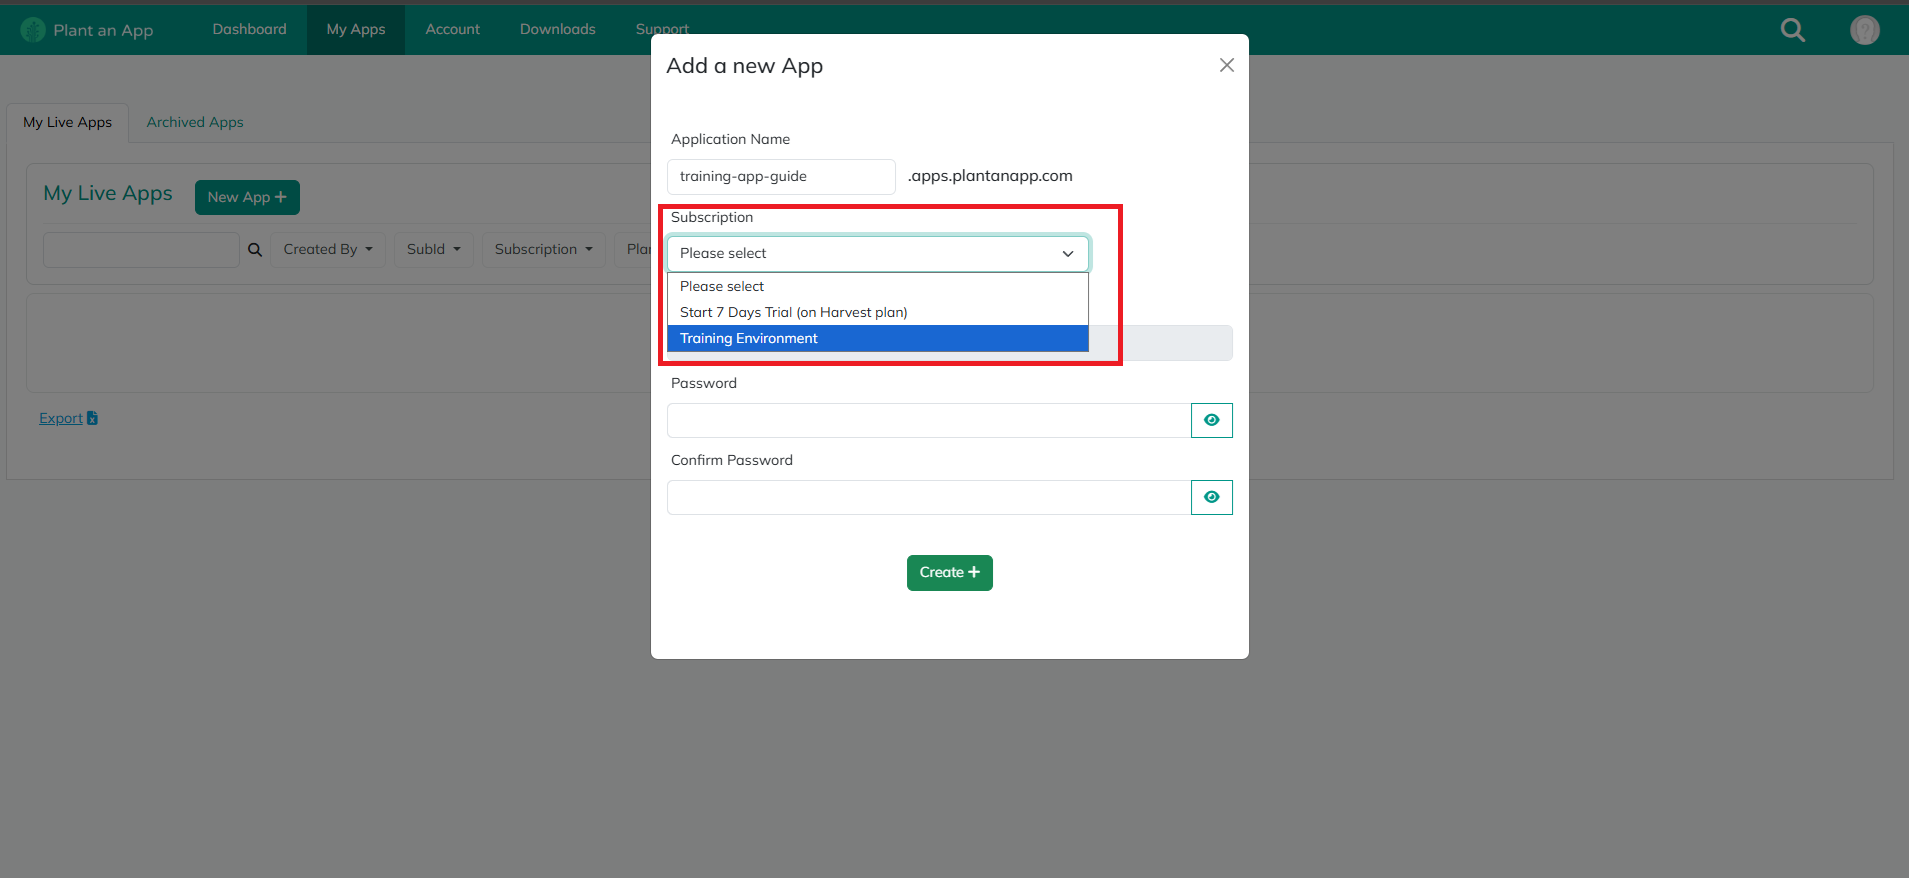
Next, press Create and wait until your application is deployed.
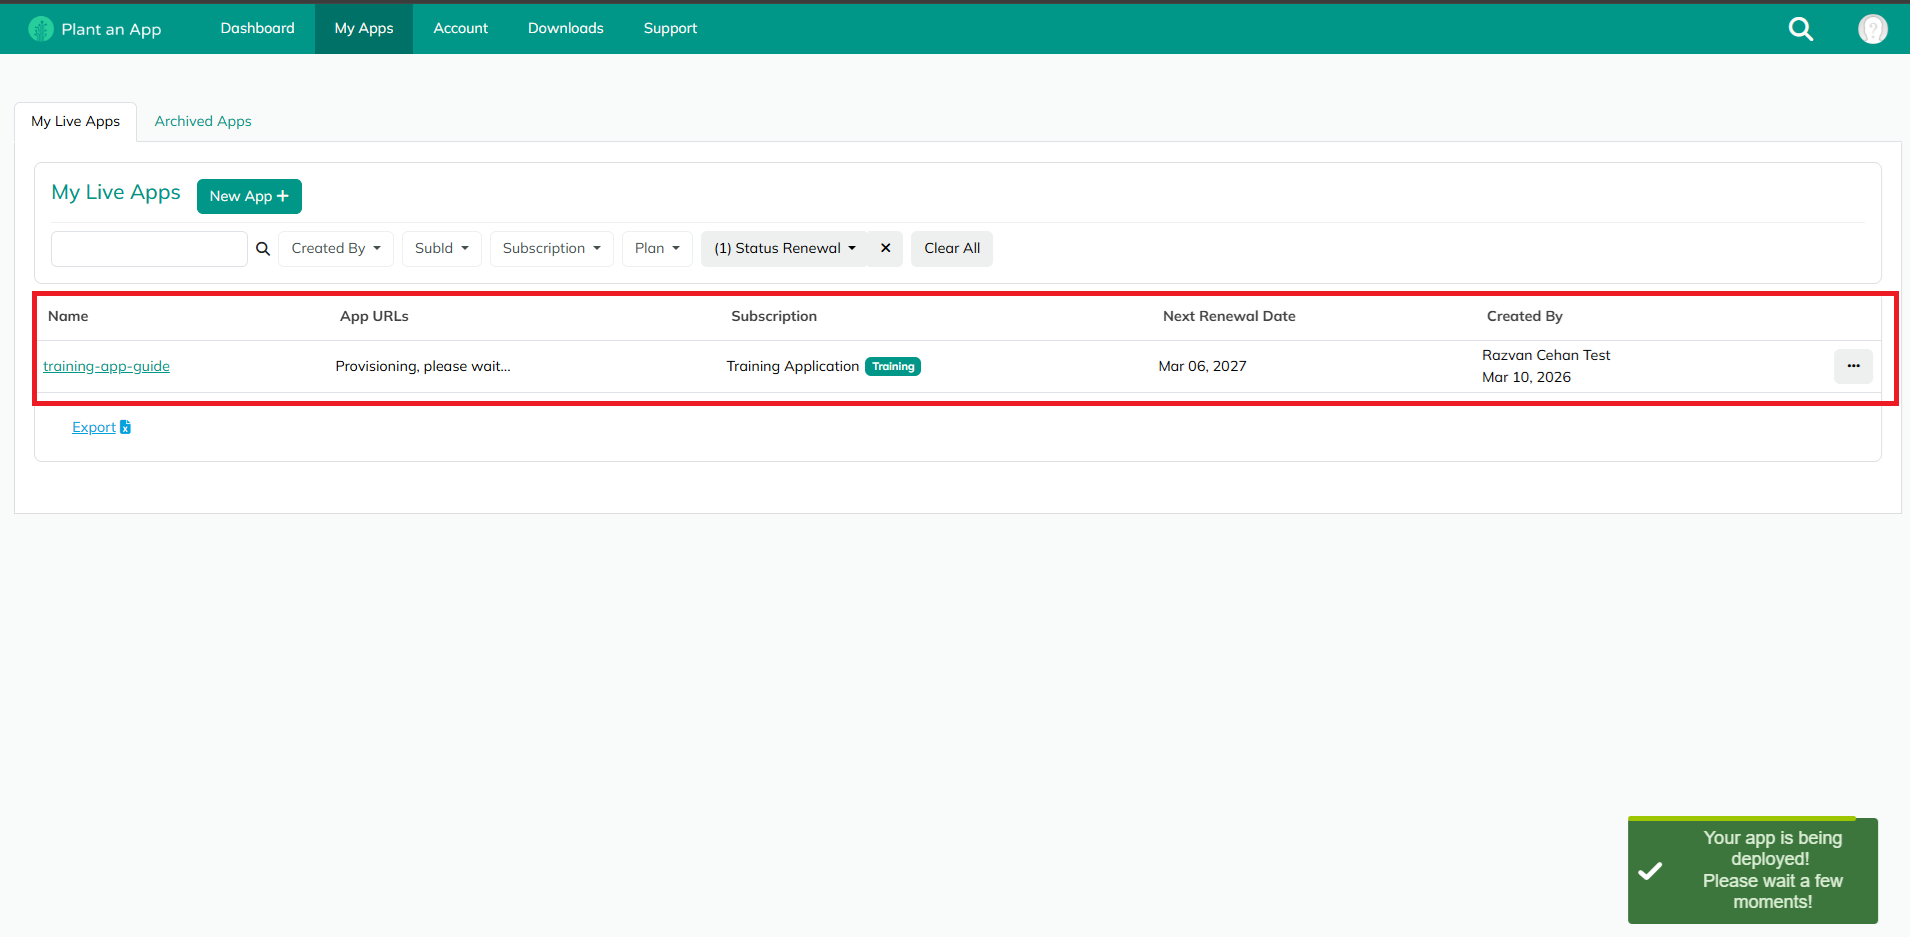
After a few minutes, you should see that the app URL has changed, and you can now log in using the username and password you provided in the previous step.
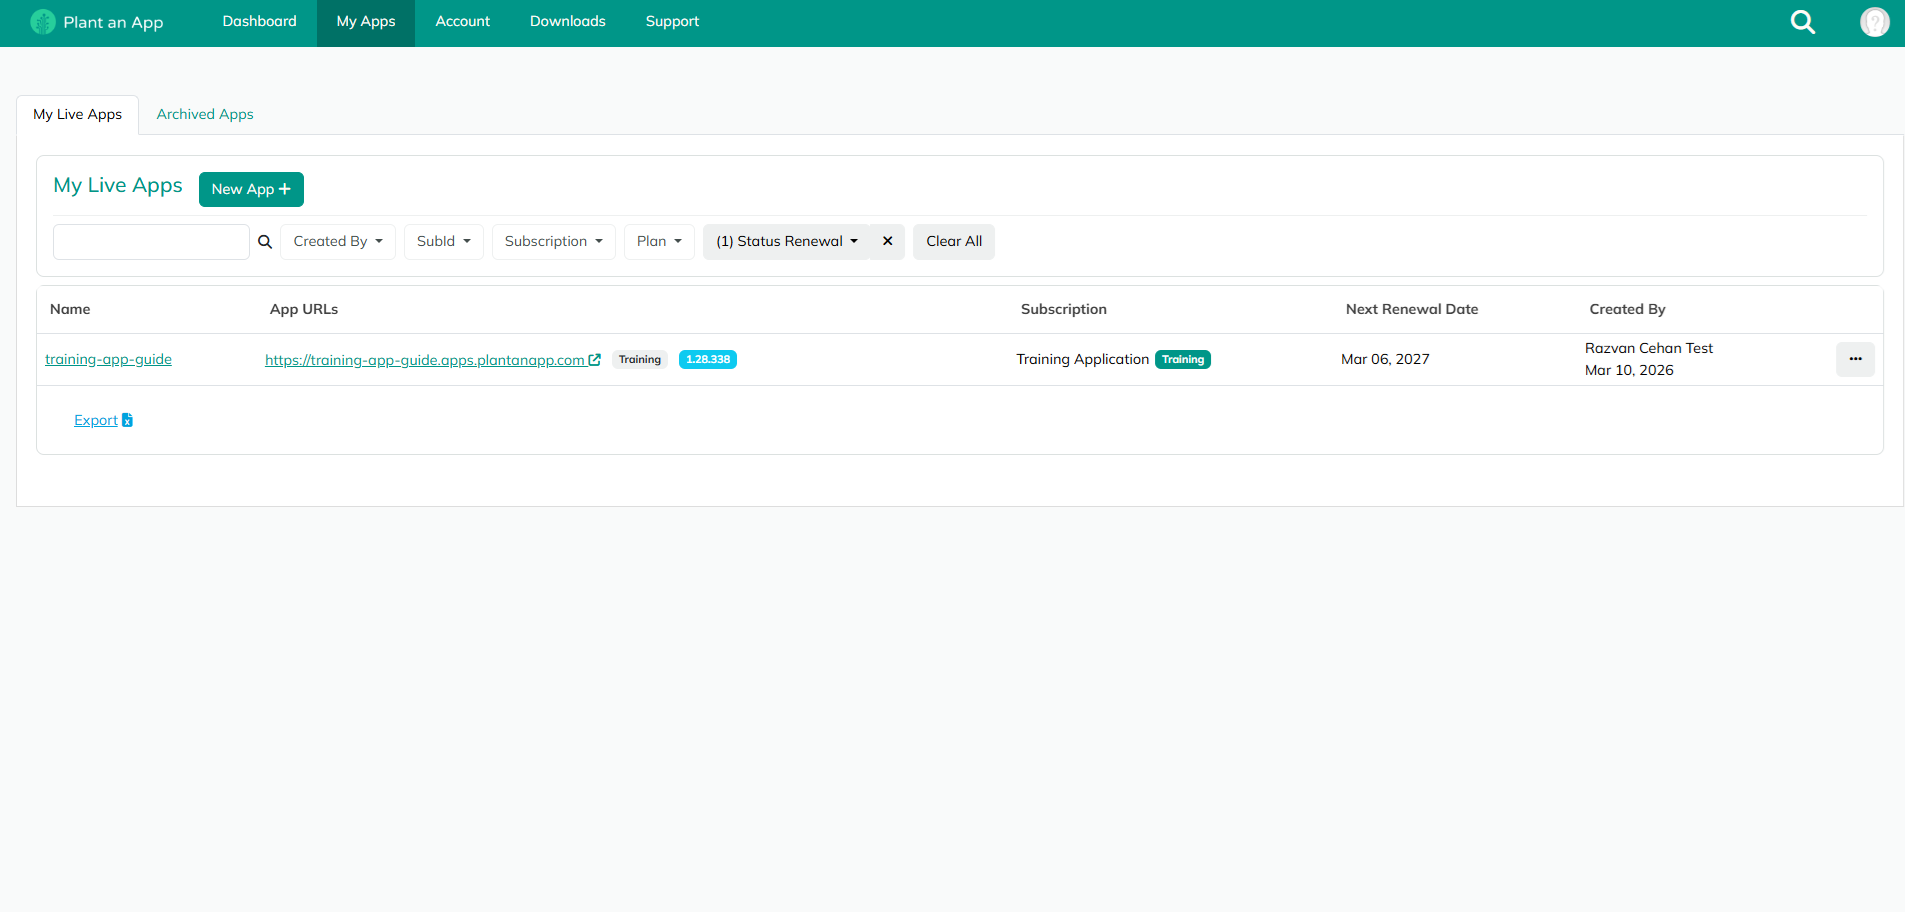
You will also receive a confirmation email.
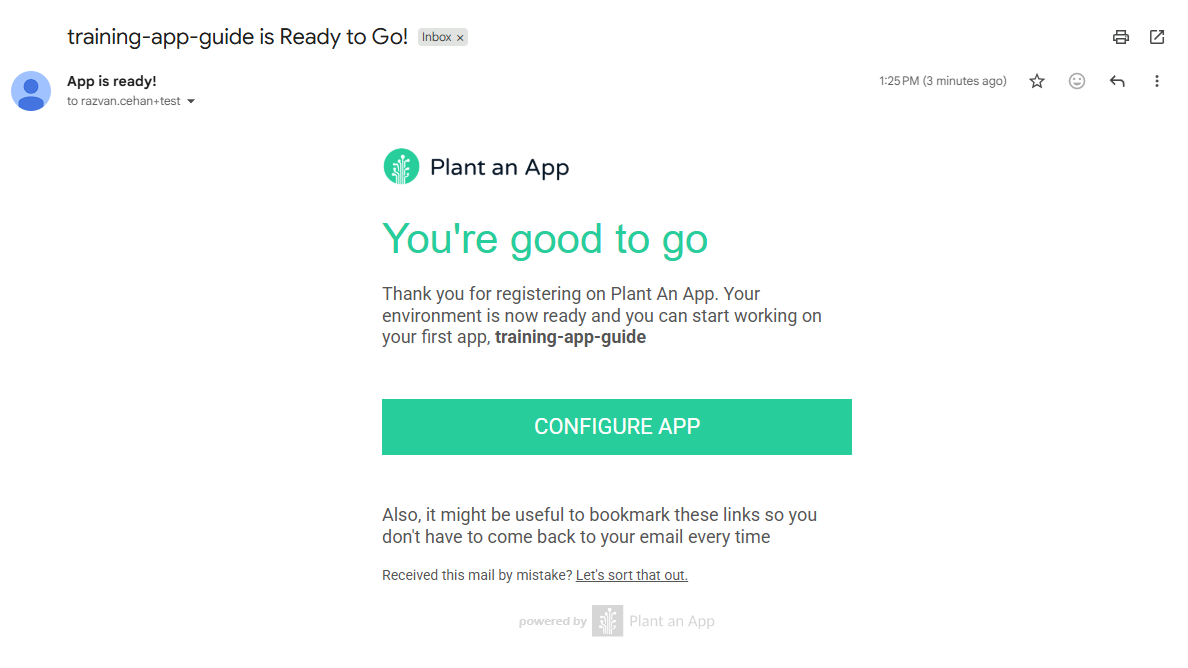
Access the URL and enter your credentials:
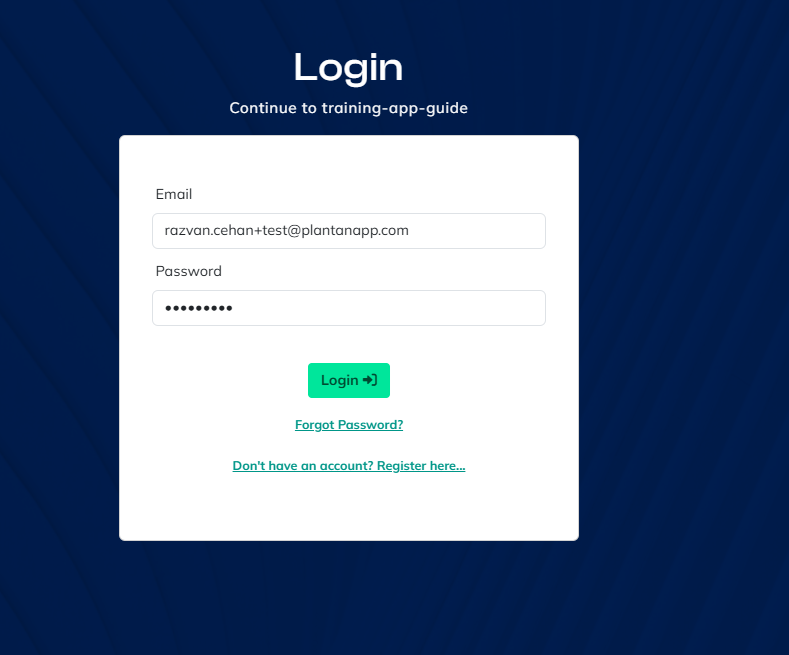
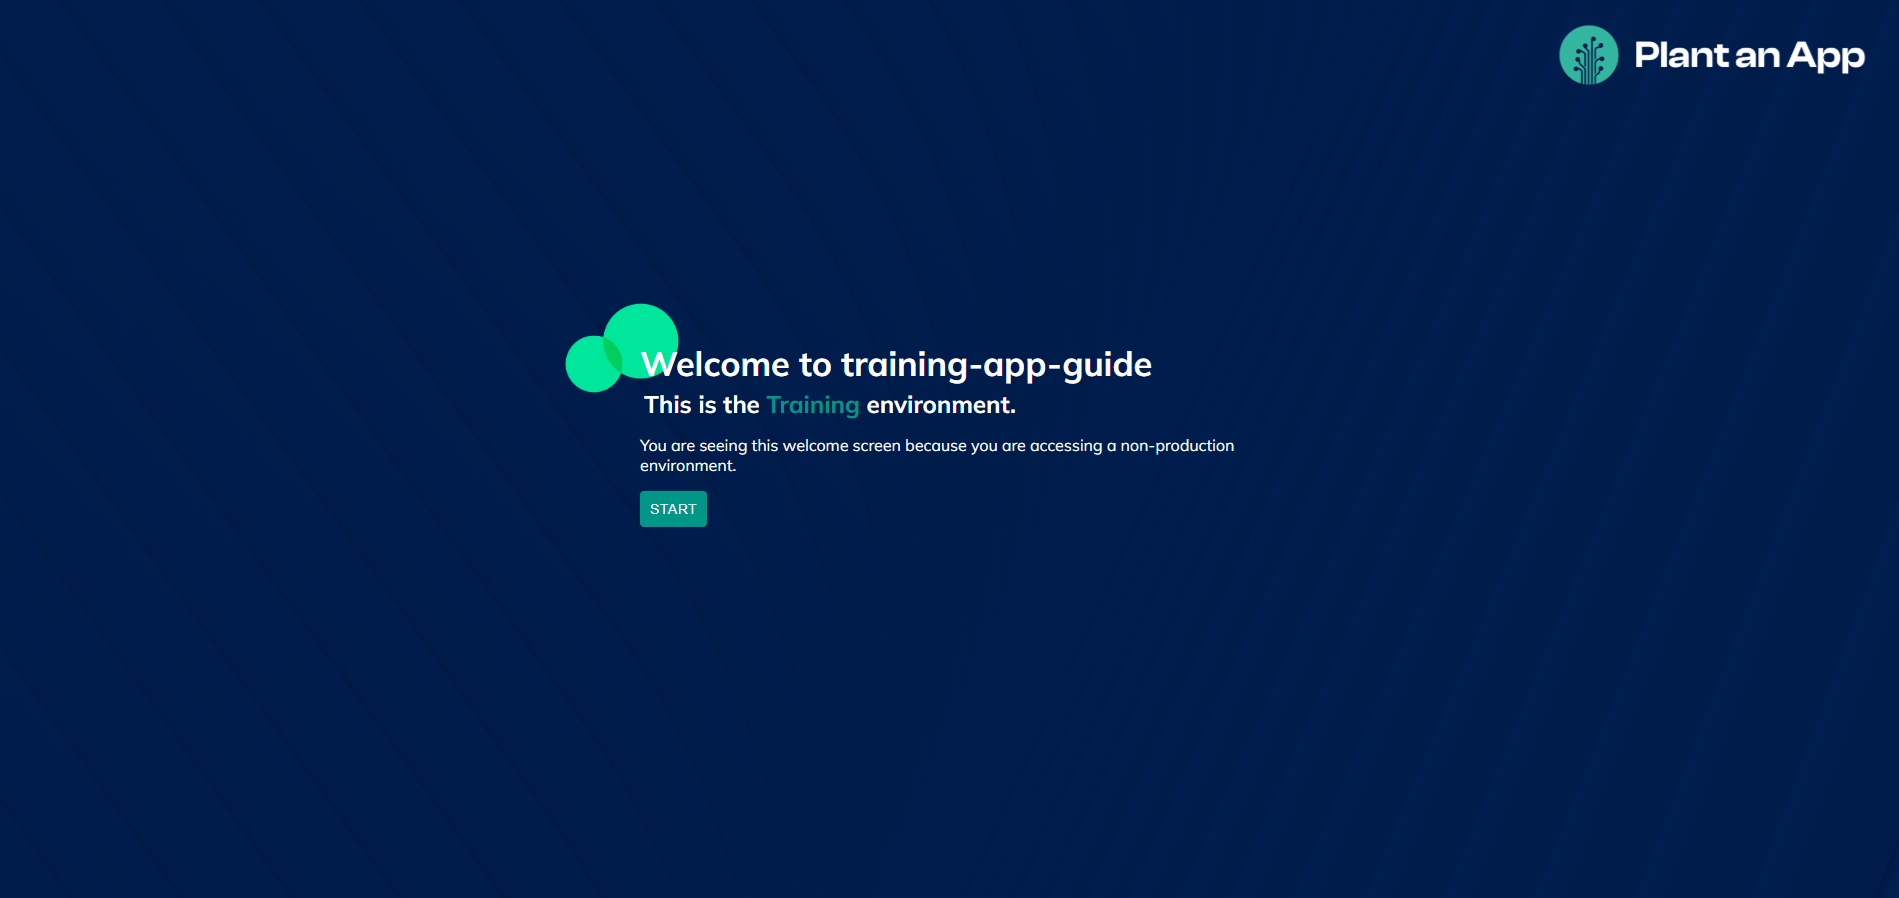
After logging in, you will see another confirmation indicating that you are using a training environment. Be aware that the training environment should not be used as a production environment.
Press the Start button.
In the next step, simply press Start from Scratch.
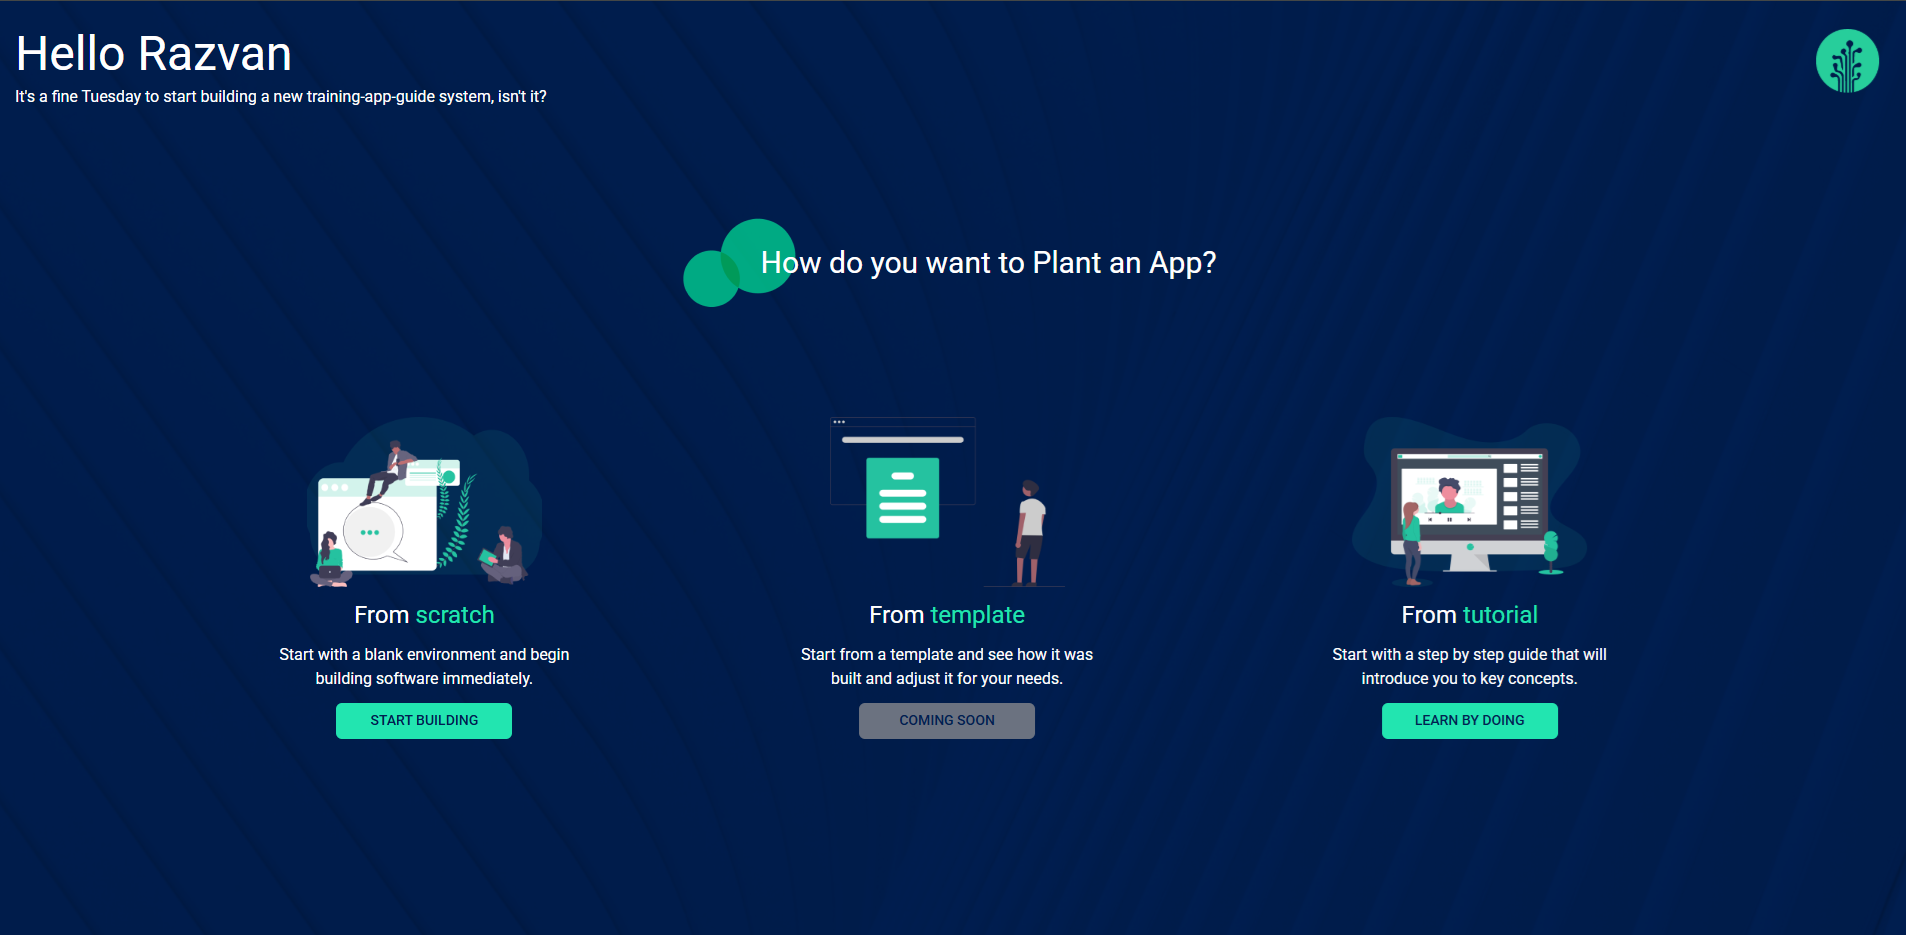
You will now see the intro screen.

Press Begin Guided Activity to learn the basics of Plant an App.
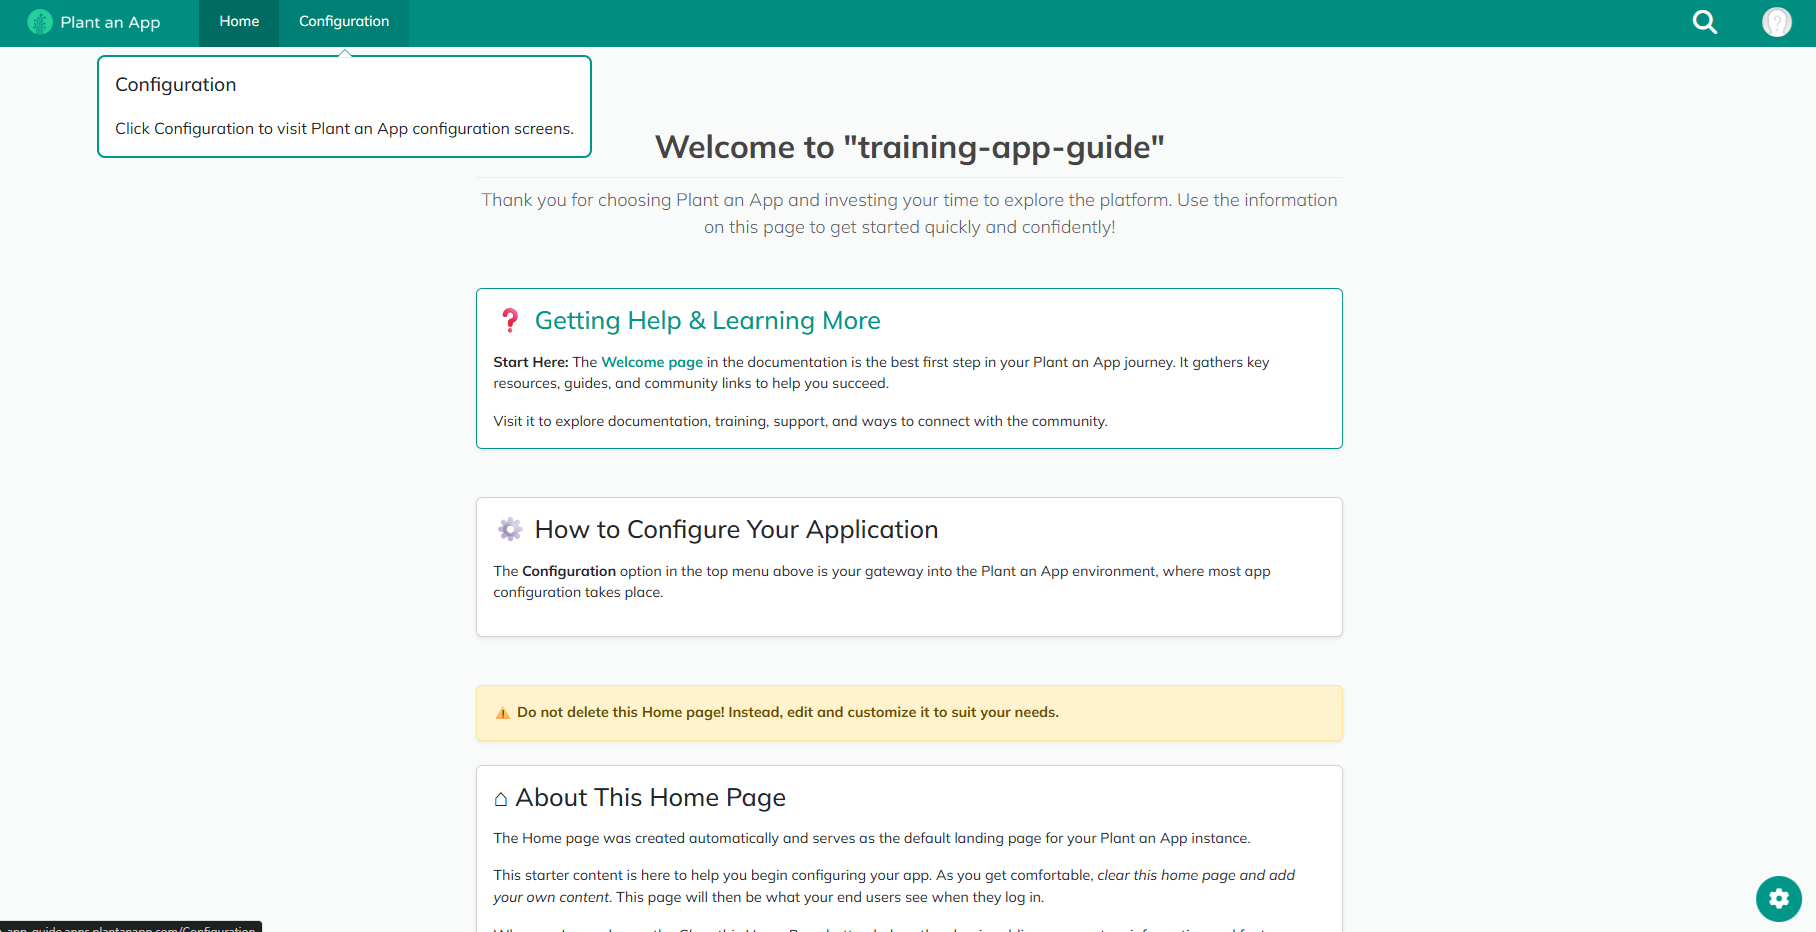
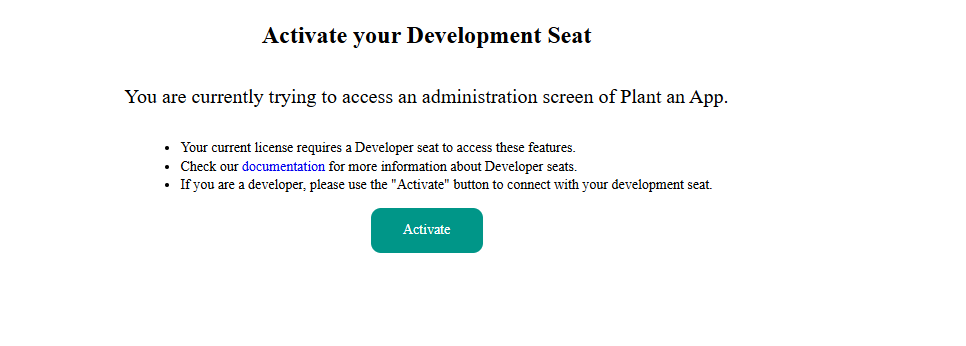
Now follow the instructions and press Configuration. When you try to access the configuration page for the first time, you will need to activate a developer seat.
To do that, simply press Activate.
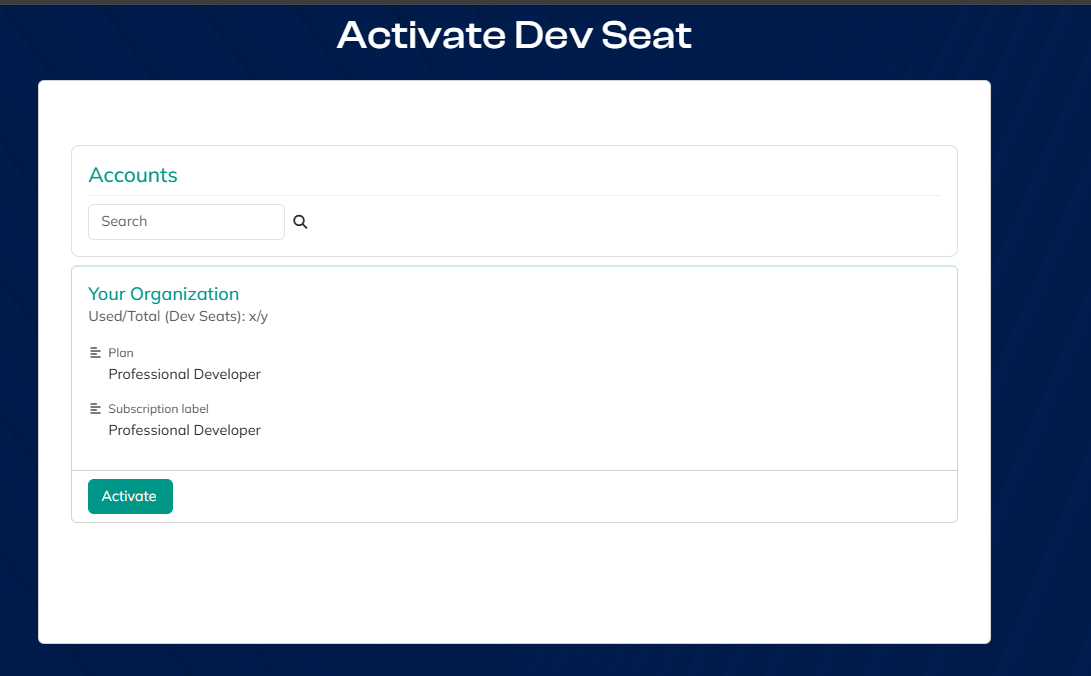
You should now see your organization. Press Activate again to activate a developer seat.
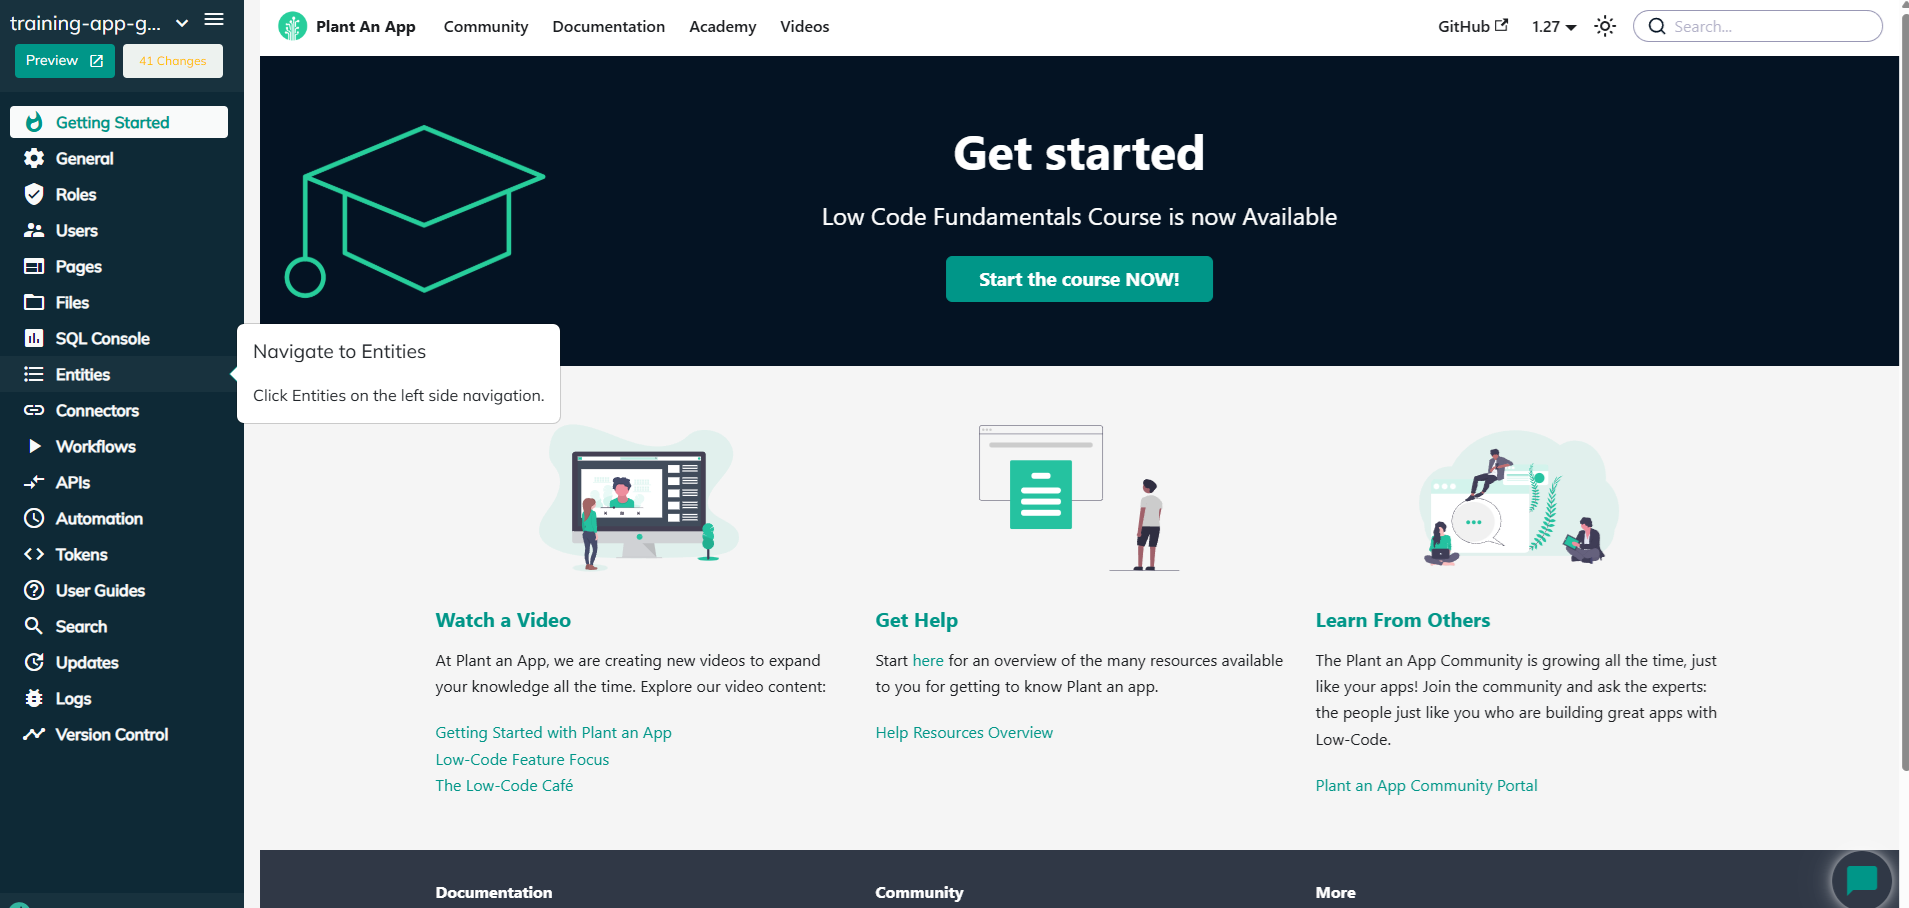
You will now be redirected to the configuration page, and the guide will continue with the entities. Enjoy using Plant an App!
Revised 03/13/2026