Tokens menu
The main page of the Tokens section allows you to:
- See a list of all the Core Tokens, along with their accepted
Values, generalUsageand usageExamples(where applicable); see also theCore Tokenspage of this section for details. - Create new namespace contexts for your tokens.
- See your Custom Tokens, by namespace.
- Export/import tokens (as JSON).
- Alter the Security and Debugging settings for your tokens.
- Test your tokens to see what values they return.
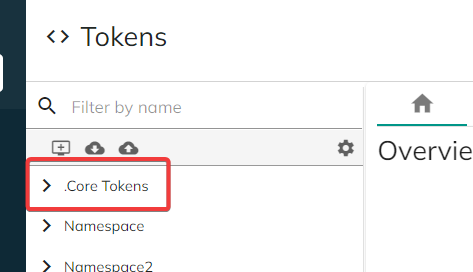
Core Tokens
The full list of available Core Tokens in Plant an App is displayed by clicking the Core Tokens button; this will expand the list.
Alternatively, you can expand/collapse the list by clicking the "Expand All" / "Collapse All" buttons in the bottom part of the section.

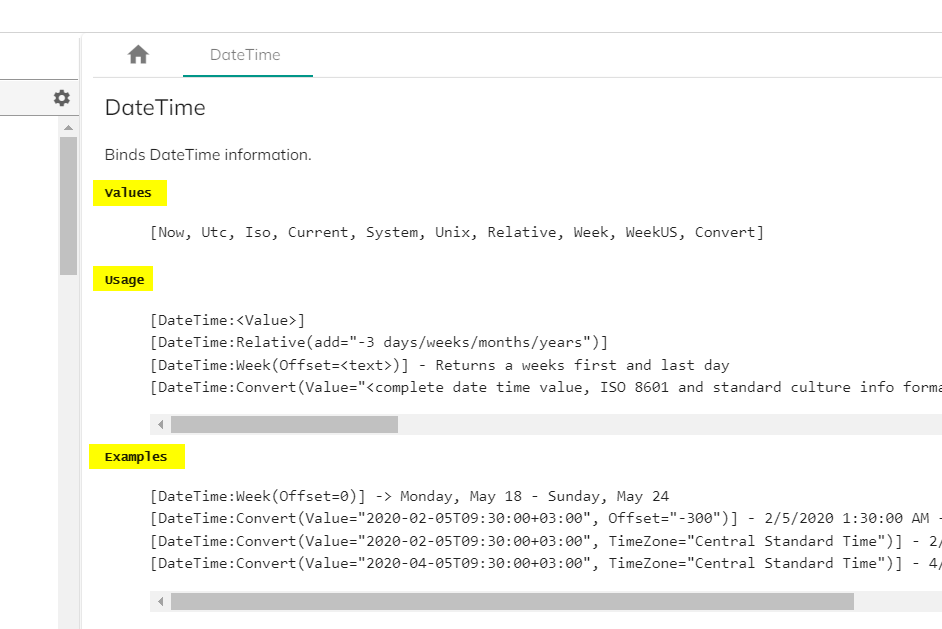
Selecting a specific Core Token from the list will provide details about it on the main part of the screen - namely, a short description, the values it accepts, its typical usage and a few examples (where relevant).
For a general detailed list of the available Core Tokens in Plant an App, please see the "Core Tokens" page.
Note that clicking a specific token from the list will open a dedicated associated tab on the main screen. This will happen for every different namespace you select from the list. You can then easily navigate between the tabs and close them separately by clicking the "X" button.

Namespaces and custom tokens
Other than core tokens, Plant an App allows you to create customized tokens and group them into specific, custom namespaces. We have a complete documentation section about this specific topic - please see the "Custom Tokens and Namespaces" page.
Export and import tokens
Allows you to export and import tokens as a JSON.
Export token
- Click the
Export tokensbutton.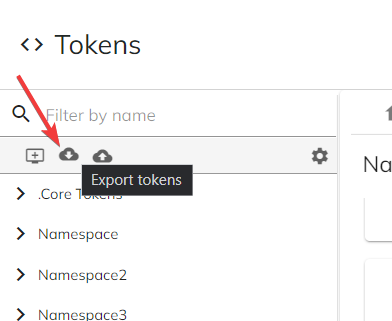
- Check the box(es) next to the token(s) you want to export.
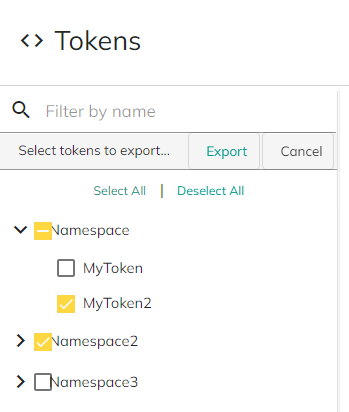
Note that you can select individual tokens from a namespace, or the namespace as a whole - in which case all the tokens in the given namespace will be exported. In the example above, a specific token from one namespace is selected for export (MyToken2), as well a namespace (Namespace2) in full. Notice the different type of selection icons. You also have the `Select All` and `Deselect All` buttons to help you with multiple, large selections.
- Click the
Exportbutton. You will be presented with your tokens selected for export as a JSON. You can then click theCopybutton and subsequently paste the selection to a file or field.
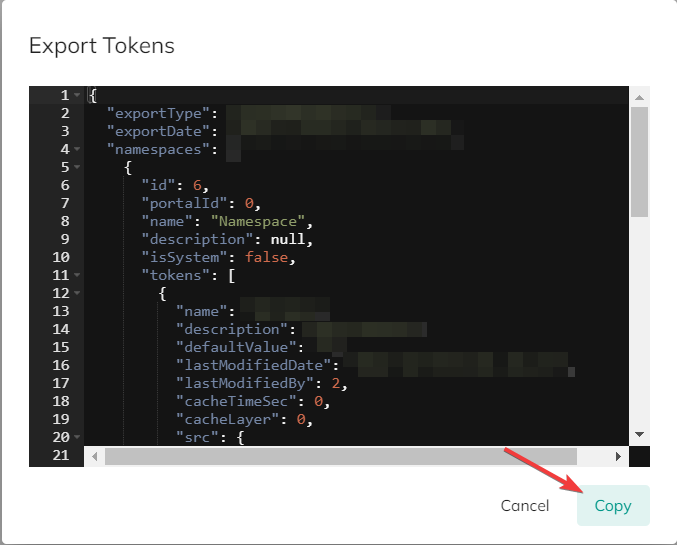
Once finished, simply click the Cancel button or anywhere outside the export window to automatically close it.
Import token
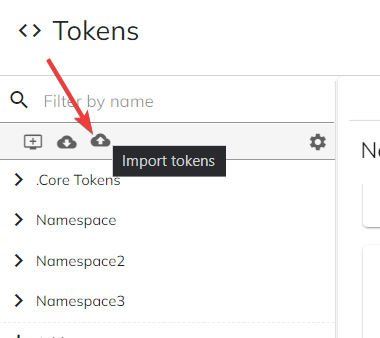
- Click the
Import tokensbutton.
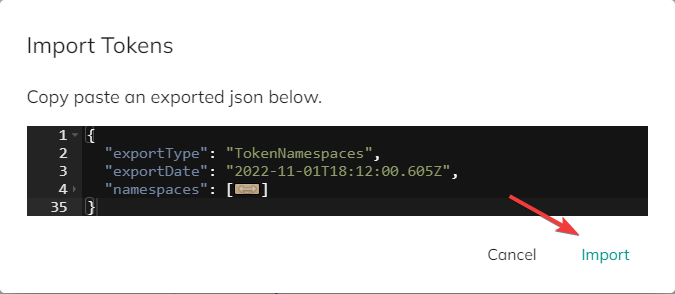
- Paste the token(s)/namespace(s) you want to import, as a JSON, in the field that is presented and click
Import.
- A message confirming the success of the import process should be displayed in the lower right corner of your window.

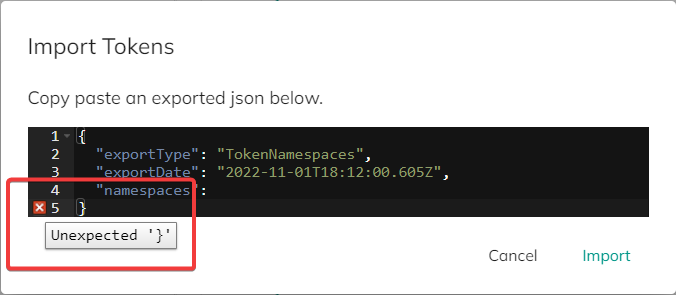
Note that the import field contains an automatic validator that will detect any syntax problems that would prevent the proper interpretation (and thus the import) of your token(s) or namespace(s). The line(s) where a syntax problem is detected are marked accordingly and a tooltip will give you a brief explanation of the issue. See an example below:
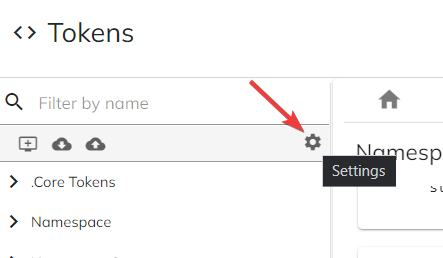
Settings (Security and Debugging)
In this section you can change settings related to the security aspects of your tokens, as well as activating debug features that allow detailed information logging. The Settings are accessible by clicking the "cog" button:
Security
You can access the security settings of your tokens by expanding the "Security" section of the General Settings window. This will give you access to two toggle-based settings:
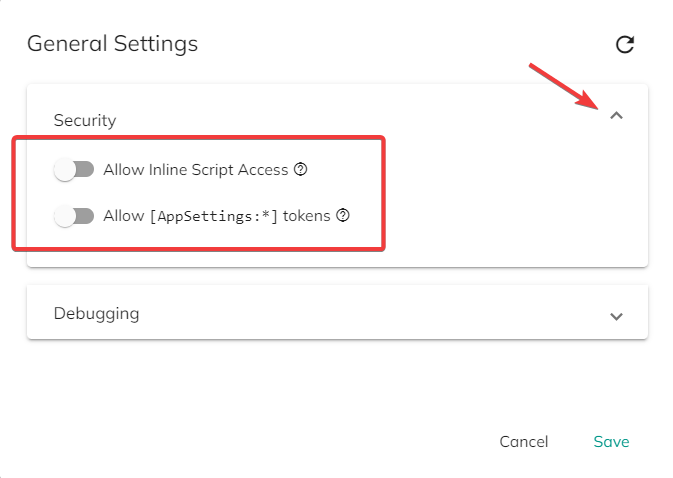
- Toggle the "Allow inline script access" slider to the right to enable the creation of Razor tokens on the fly, directly inside the content (for example, in the content of HTML modules).
In order to be recognized as such, the inline scripts should be placed between tags:
<code data-language="razor">...</code>
Please see here for a few examples.
Enable this option only if the users accessing the configuration screens where tokens can be used are trusted.
- Toggle the "Allow [AppSettings:*] tokens" slider to the right to allow the access of the app settings from the IIS
web.configfile through[AppSettings:<key>]type tokens.
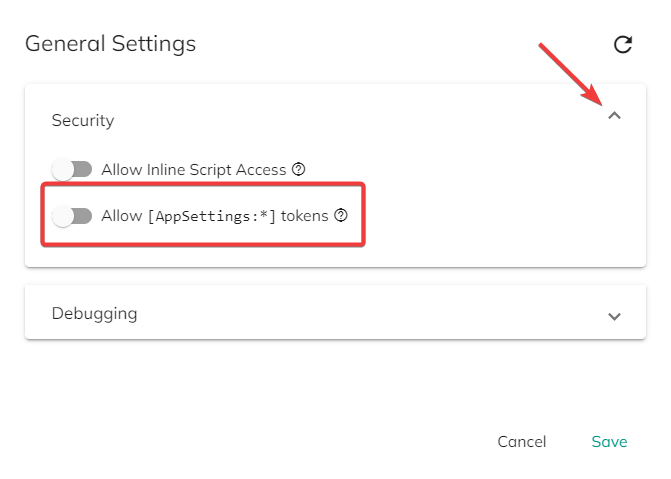
While activating this feature can be useful for easy access to global settings, be aware that application settings can contain sensitive information such as encryption keys.
Make sure that you only enable this option if the users accessing the configuration screens where tokens can be used are trusted.
You will need to click the Save button (lower right corner of the General Settings window) for the changes to take effect.
Debugging
You can expand the token debugging feature by clicking on the "Debugging" section of the General Settings window.
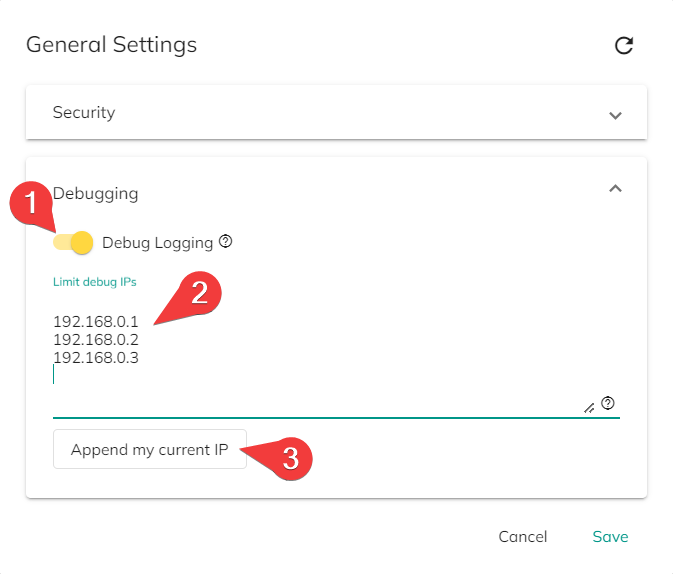
Toggle the slider (1) to the right to activate the token debugging feature and to the left to deactivate it.
You can filter the debug option by adding specific IP addresses to the debugging list (2). In this case, debugging information will only be logged if access by a user whose IP address is in the list is detected. Insert only one IP address per line.
You can add your present IP address to the list above in one click by using the Append my current IP button (3).
You will need to click the Save button (lower right corner of the General Settings window) for the changes to take effect.
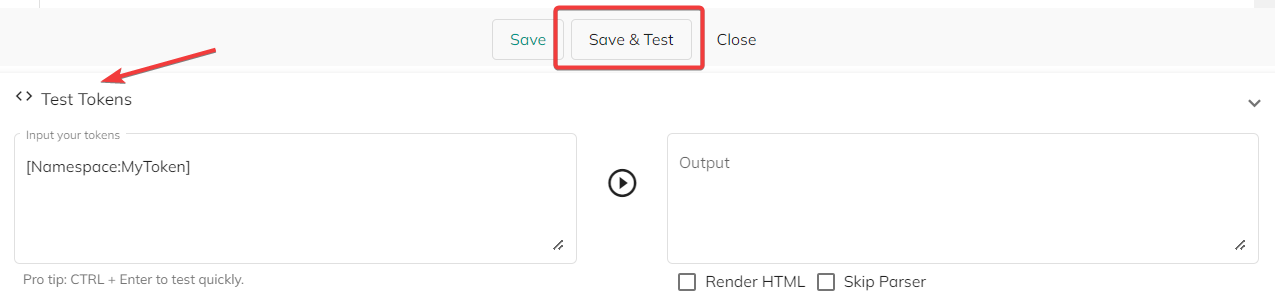
Test Tokens feature
Found in the lower part of the main page, this feature allows you to test your tokens and check their output on-the-spot. You can expand it either from the Edit token screen (via the "Save & Test" button), or by clicking the "<> Test Tokens" bar in the bottom of the main page.
For more details about this feature, please check the "Custom Tokens and Namespaces" page in this section.