Forms 2.0 - Create My First Form
This page is preliminary and subject to change as Forms 2.0 continues to be developed.
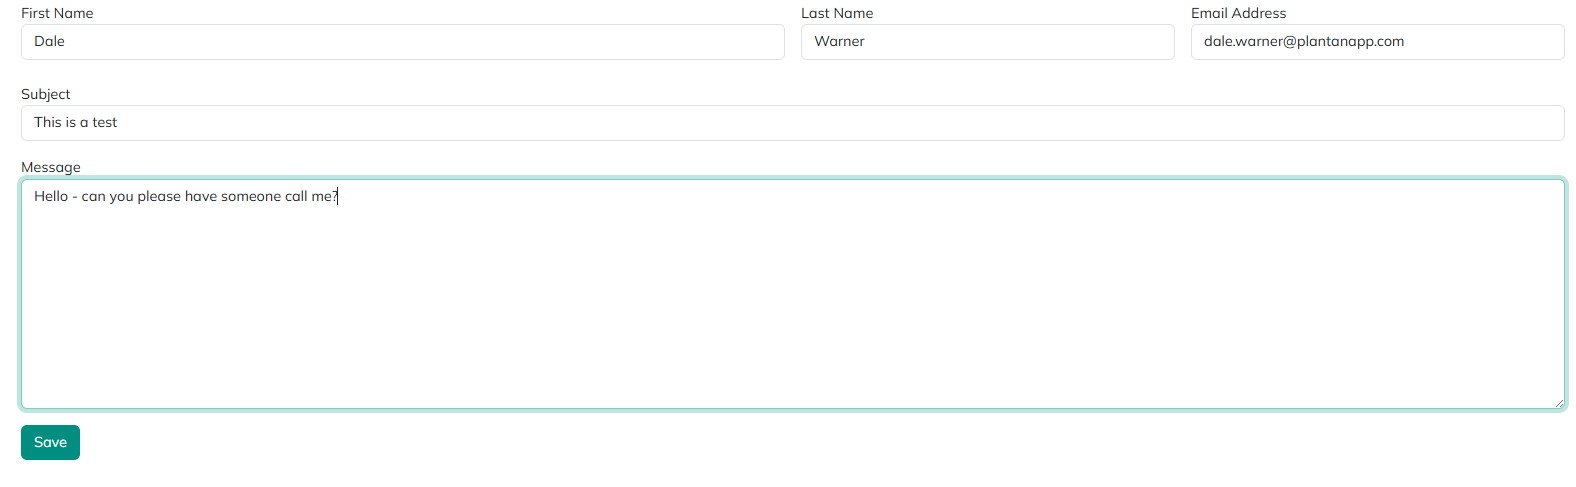
This guide walks through building a classic "Contact Us" form with Forms 2.0 - collecting a first name, last name, email address, subject, and message, emailing the submission, and showing the user a confirmation message.
Add the Form module to the page
With the page in edit mode, use the Add Module control to add a Form module and drop it into the pane where you want it to appear. On the module, choose Go to Manage to open the Form Builder with an empty Canvas.
Lay out the fields
- Drag a Layout Container onto the Canvas, click it, and set its Layout Mode to
Horizontal- this puts the fields we're about to add inside it side by side on one row. Click the X to close the field's settings and return to the Build palette. - Drag a Text Box into the Layout Container, click it, and change its Label to
First Name. - Drag another Text Box in next to it and label it
Last Name. - Drag a third Text Box in next to that and label it
Email Address. - Drag a Text Box below the Layout Container (not inside it) and label it
Subject. - Drag a Textarea below Subject and label it
Message. - Drag a Button below Message and label it
Save.
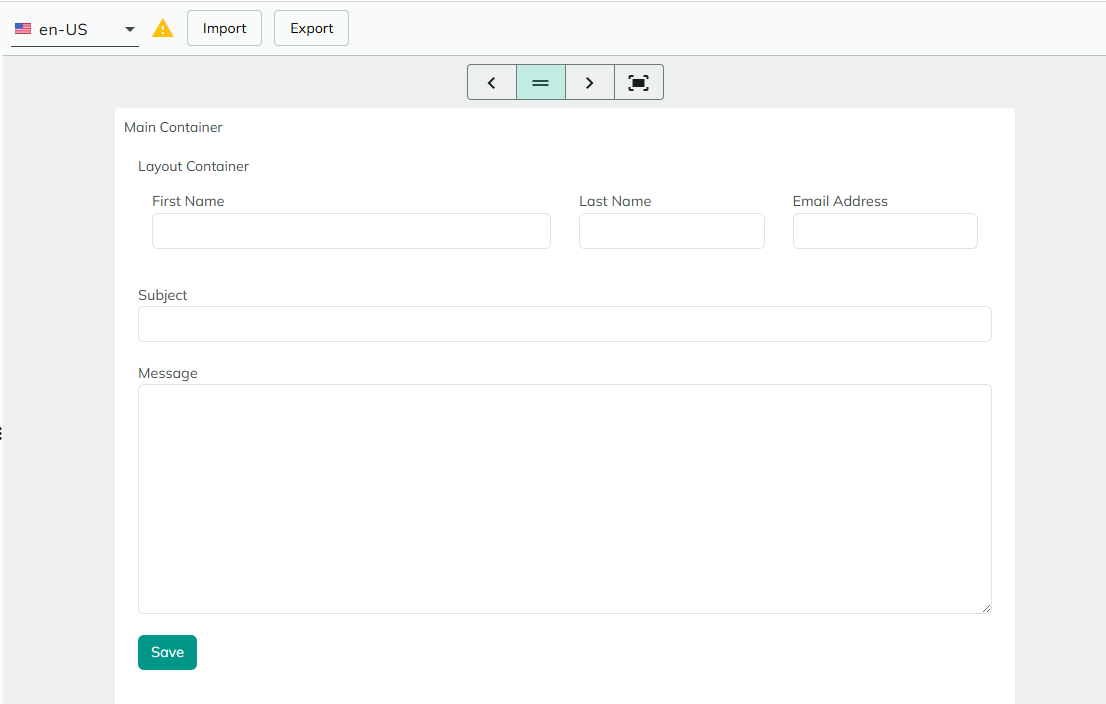
That gives the form's basic layout: First Name, Last Name, and Email Address on one row, then Subject, then Message, then the Save button.
Add actions to the Save button
Click the Save button, and under its Common Field Settings scroll to On Click Handler, then Add Action to attach two actions.
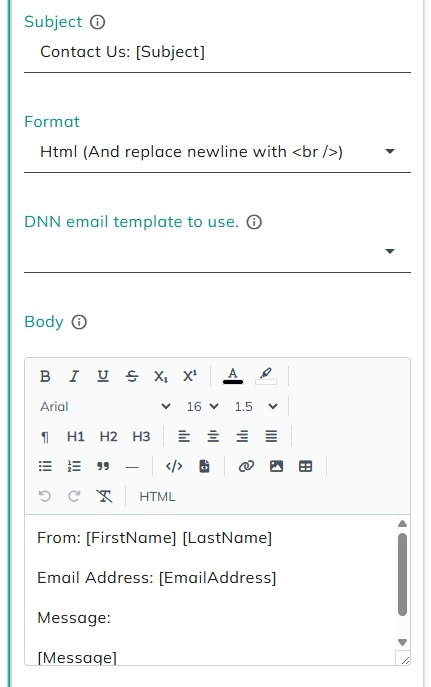
1. Send an email. Under the Email category, choose Send Email, then fill in:
-
To - a constant email address to receive the submission.
-
Subject - literal text combined with the Subject field's token:
Contact Us: [Subject]. -
Format -
Html (And replace newline with <br />), so the line breaks below render correctly. -
Body - literal text combined with field tokens:
From: [FirstName] [LastName]Email Address: [EmailAddress]Message:[Message]
2. Show a confirmation message. Add a second action, this time a Display Message action, and set its message to something like Thank you, your message has been sent.
Click Save, then Back to leave the Form Builder.
Try it out
Exit edit mode and fill in the live form. Submitting it should show the confirmation message you configured, and the email you configured should arrive shortly after with the submitted values filled in.